
Getting Started With Darcy Cam Prototype
PREREQUISITES
- Basic command line knowledge
- Internet connection
REQUIRED HARDWARE
- Darcy Cam Prototype
- Power supply
- Mouse/keyboard/monitor
SO, WHAT IS DARCY CAM?
Darcy Cam is an all-in-one device that marries AI with the Edge by way of local processing of visual and thermal inputs. Darcy Cam features:
- ARM v8 architecture SoC
- Two Google Coral TPU's
- Ethernet and Wifi
- Micro HDMI
- USB C port for power
- Micro B USB
- 3.5mm audio port
- Stand with tripod threading
- Comes with
- Adapters for Micro USB B to A, Micro HDMI to HDMI, and power toggle adapter.
GETTING STARTED WITH YOUR DARCY

First, using the provided adapters, connect a monitor, mouse, and keyboard and boot the Darcy Cam. Your cam came preflashed with Raspberry Pi OS and will display the Setup screen as if you had just flashed it. Proceed with the initial setup.
Once setup is complete make sure your packages are up to date by running the commands below in a terminal window.
sudo apt update
sudo apt upgrade
Once the updates are completed reboot the system and proceed to the next steps.
ENABLE SSH
Your card came preflashed, so to enable SSH by clicking the Pi logo at the top left of the screen, navigate to Preferences, then Raspberry Pi Configuration. Once there, go to the Interfaces and enable SSH. That is it!
ENABLE PI CAMERA LEGACY
In order to utilize the camera on your Darcy Cam Prototype, you must enable legacy support for the integrated Pi visual camera. You can do this by following this 30 second video. Reboot the unit and run the below command in a terminal window to ensure the camera works.
raspistill -o test.jpg
If not, repeat the process shown in the video and re run the above command.
Now that you have SSH and Legacy Pi Camera enabled and a ready command line prompt, the next steps will fly by!
CREATE A DARCY CLOUD ACCOUNT
Create a Darcy Cloud account at https://cloud.darcy.ai. Pick a username. Then user either email, a Google account, or a Github account for your identity.

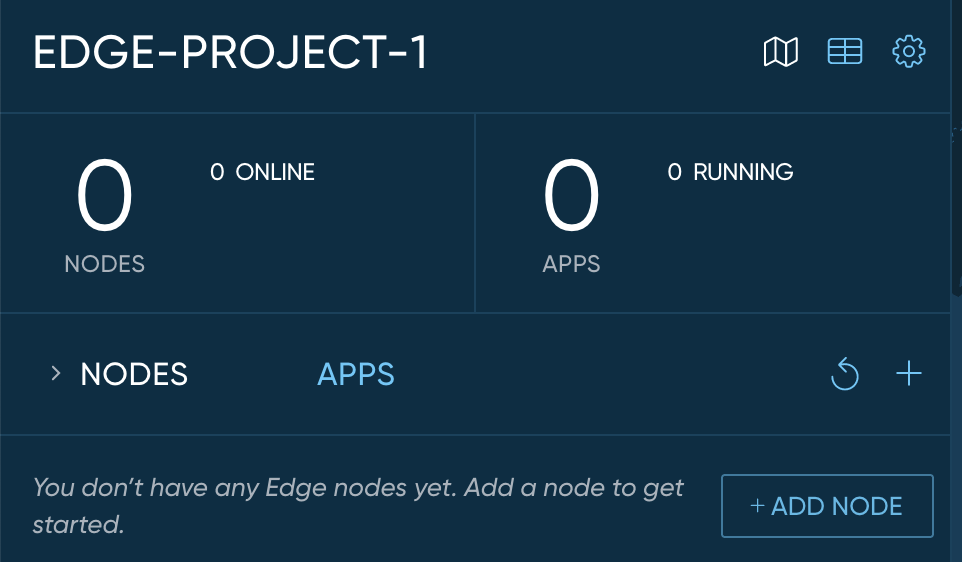
Darcy Cloud starts you off with a new project ready to go.

ADD YOUR DARCY CAM AS AN EDGE NODE
You should be sitting at a command line prompt on your unit.

In your Darcy Cloud account, click the “+ADD NODE” button.
You’ll see a dialog box with a command in it. Copy the command text or just click on the “copy” button.

PASTE THE CURL COMMAND TO YOUR UNIT
Now paste the command that you copied into your terminal. The installation process will run for a few minutes and should look something like this:

ENJOY YOUR DARCY CAM IN THE DARCY CLOUD
You’re pretty much done. You should see your unit listed in your Darcy Cloud account. You’ll notice that some handy information about the board is available. You can click on it and get more details.
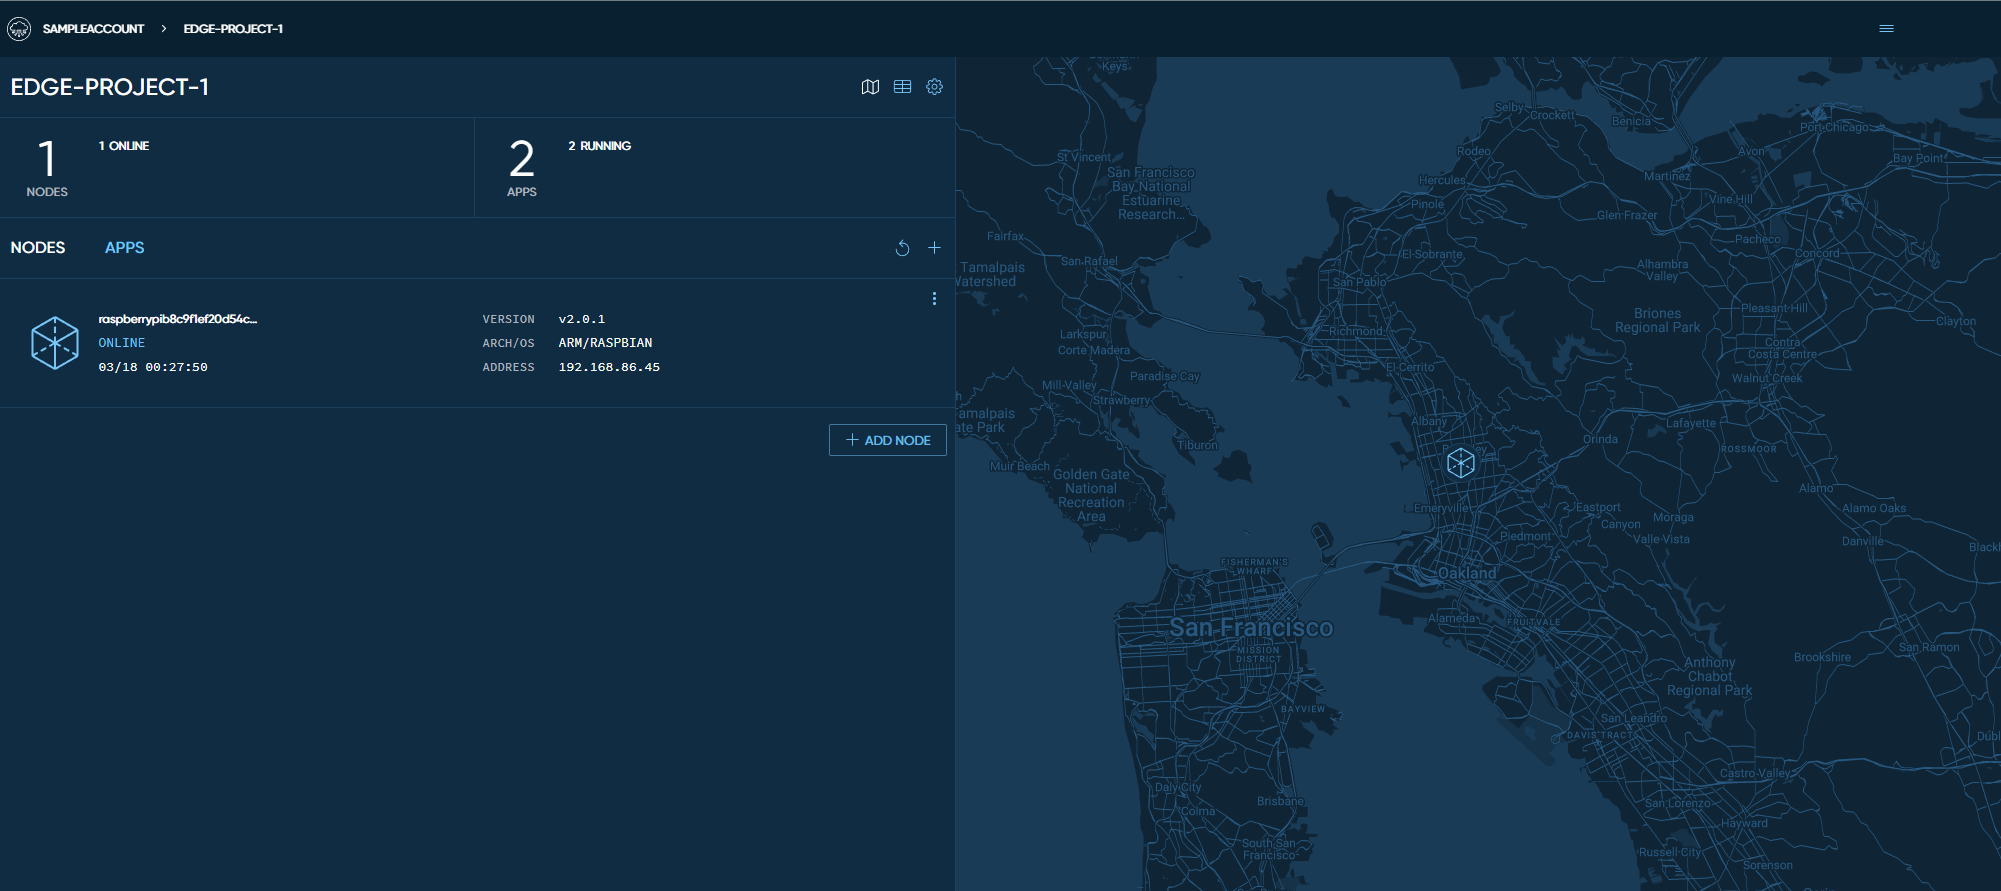
You can also access the board from anywhere using that nice little “SSH” button in blue. It will open a new browser tab with an SSH session. Your node does not need any special network configuration. It just needs an Internet connection from wherever it sits. This feature is amazing and I literally use it every day
Continue to the next article to get Darcy AI on your Darcy Cam!